Before you start messing with the in-game editor it's recommended you play through the Aquaria editor tutorial mod to get a feel for the basics. This is one of the default mods that come with the game.
The editor can be accessed by pressing Tab during regular gameplay. The game is paused while the editor is open.
The bar that appears at the top displays useful information for the currently active editor mode and selected objects. Click it to open a menu with extra options. Most of them have key bindings, some don't. The Particle viewer and Animation editor can be opened from here.
Note that by default you'll only be able to open the editor in mods; for vanilla maps it's blocked. You can enable developer mode as described in Getting started in usersettings.xml to lift this restriction.
[OSE only] Mods can also choose to disable normal access to the editor by setting blockEditor="1" in the Mod main XML file to prevent the temptation of easy cheating. This setting is ignored when developer mode is on.
It's generally advised to save often when using the editor. Sometimes there are weird problems that are usually fixed when the map is reloaded, but for this to be effective you need to actually save it before reloading!
Most of the editor functions are mapped to hotkeys that are not displayed anywhere in-game. This page aims to be a complete collection of all available keyboard controls. To efficiently edit maps you'll have to learn them; it doesn't take long and is quite easy after getting used to the basics.
The mouse is mainly used to place and move things around, to adjust the size of objects, and to move the camera.
Keyboard gotchas
Editor controls are hard-coded, that means you can't change them.
This wiki uses the US keyboard layout as a reference. Remember that the US keyboard layout is not the only one in existence.
If you use e.g. the german keyboard layout you'll have to adapt in your head.
OSE version (using SDL 2)
OSE uses scancodes to detect key presses, that means whatever label the key has doesn't matter, only it's location on the board.
This is usually what you want for editing purposes, as the keys are somewhat laid out to make sense. On a US-keyboard, that is.
Older versions and OSE builds using SDL 1.2
SDL 1.2 does not support scancodes, therefore the system's keyboard layout matters. So if you use a non-US keyboard layout then keys to use a certain function might be located in different places. Or not. It actually depends on the operating system. It's up to you to figure out the differences when using an older version.
Editor modes
The editor has 3 main operating modes:
- Tile edit mode (F5)
- Entity edit mode (F6)
- Node edit mode (F7)
Switch between modes by pressing F5-F7 keys.
Common controls
-
F1: Reload the map
-
Shift + F1: Load map, ask user for the name
-
F2: Save map
-
W/A/S/D, Hold MMB/Mouse wheel and drag: Move the viewport aroun_
-
P: Place Naija on the mouse cursor
-
F9: Toggle obstruction overlay
-
F10: Open dialog to move all tiles from one layer to another layer
- You need to use actual Layer numbers here.
- It's recommended not to use this (You can just zoom out a lot, select everything, and move the selection to the new layer)
-
[OSE only] F8: Dump map grid as TGA file
- This is useful to reconstruct a map template from a map XML file if the original map template was lost. The reconstruction is not perfect due to an unfixable bug. It's complicated. You will probably not need this.
-
PgUp/PgDown, Mouse wheel: Zoom
- OSE zooms to the cursor
- Older versions zoom relative to the upper left corner of the map. Very inconvenient.
-
F: Open text prompt. Entered text will be placed as Aquaria text tiles on the currently selected layer.
Tile edit mode (F5)
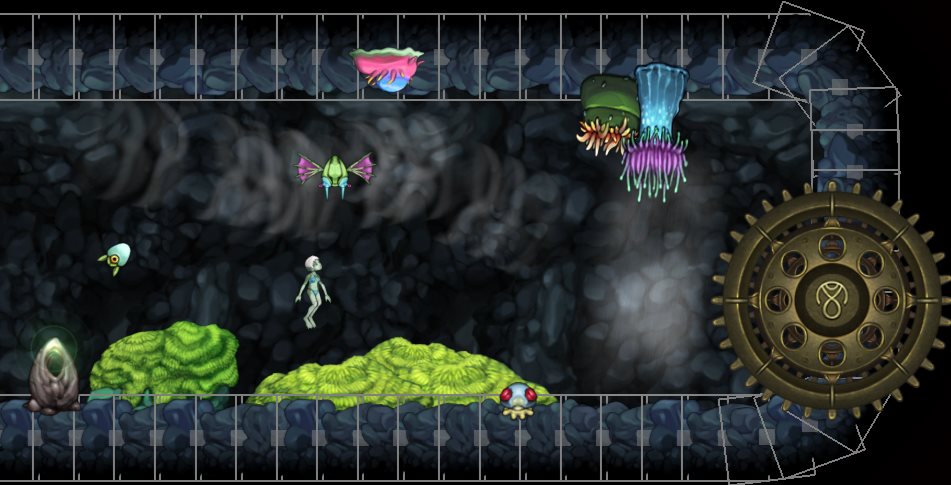
When this mode is active, tiles on the currently active layer are highlighted (border around each tile; dot in the center). The border & dot of selected tiles are bright white; unselected tiles are grey.
There are two modes of selection in this mode. All operations normally affect the tile under the cursor on the currently active layer. Alternatively you can use Alt to select multiple tiles, then all selected tiles will be affected. Tap Alt to clear the multi-selection.
There is also the "ghost tile" that follows your cursor. It's the tile that will be placed when you press Space.
Key bindings:
- Press one of the Layer keys to switch to that layer. Tiles on that layer will be highlighted by a white border.
- Space: Place tile
- Backspace/Delete: Delete tile(s)
- E/R: Cycle through tileset
- If nothing is selected: Cycle ghost tile to the next/previous tile in the tileset
- If hovering a single tile: Change tile to the next/previous tile in the tileset
- If multiple tiles are selected: Change each tile into its respective next tile in the tileset.
- [OSE only] Shift + Mouse wheel: Much faster alternative to cycle through tiles.
- Works the same way as E/R except with a lot less keyboard hammering involved.
- Drag while holding LMB: Move tile(s) around
- Shift+Layer key: Move tile(s) to that layer
- Alt+Layer key: Show/Hide layer.
- Particularly useful for the Dark layer (Alt+J).
- Shift + LMB: Clone tile under cursor
- Multiple tiles: Clone all selected tiles, and select the new tiles
- Hold RMB + drag mouse to the left or right: Rotate tile under cursor
- Multiple tiles: rotate all tiles around the selection center.
- Hold Shift+RMB + drag mouse to the left or right: Uniformly scale tile under cursor
- Multiple tiles: scale all tiles around the selection center.
- Hold Ctrl + drag mouse to the left or right over a tile: Rotate tile in 45° increments (useful for energy temple style maps where you need a lot of right angles)
- Multiple tiles: Rotate all tiles around the selection center by 45° increments
- This is quite fiddly and there's rarely a use case for this.
- Shift+C+RMB + Drag mouse left/right: Stretch tile in X-direction
- Shift+V+RMB + Drag mouse up/down: Stretch tile in Y-direction
- [OSE only] Shift+X+RMB + Drag mouse left/right: Adjust texture repeat scale
- Only effective if tile texturing is in repeat mode (L)
- Because X is also used for other things unless Shift is held, be careful not to accidentally press X:
- Hold Shift first, then press X, then move the mouse, release X, then release Shift
- T: Flip tile under cursor horizontally (does not respect multi-selection)
- Y: Flip tile under cursor vertically (does not respect multi-selection)
- It's recommended not to use this. The same orientation can be achieved by flipping horizontally and then rotating by 180°.
- X: Move tile to the front in the current layer (draw over everything else)
- Z: Move tile to the back in the current layer (draw under everything else)
- C/V : Align tile(s) to grid boundary
- Not sure why this function exists, seems redundant and fiddly
- Hold Alt and drag the mouse to select multiple tiles. Think that this spans an invisible selection rectangle between where the cursor was when you pressed Alt and where the cursor is now. All tiles inside of this rectangle are selected until you release Alt.
- Tap Alt to clear the multi-selection
- Home: Set ghost tile to Tile 0
- End: Set ghost tile to the last entry in the tileset
- Arrow keys (_Up, Down, Left, Right): Tap once to move the tile by 1 unit.
- Numpad 0-9: Set tile effect for selected tile(s)
- I: Set tile obstruction to Hurt (Hurts when touched), or unset
- Visible in yellow on the obstruction overlay (F9)
- O: Cycle through normal obstructiontypes
- Visible in red/orange on the obstruction overlay (F9)
- L: Toggle texture repeat mode for tile under cursor
- Ignores multi-selection
Entity edit mode (F6)
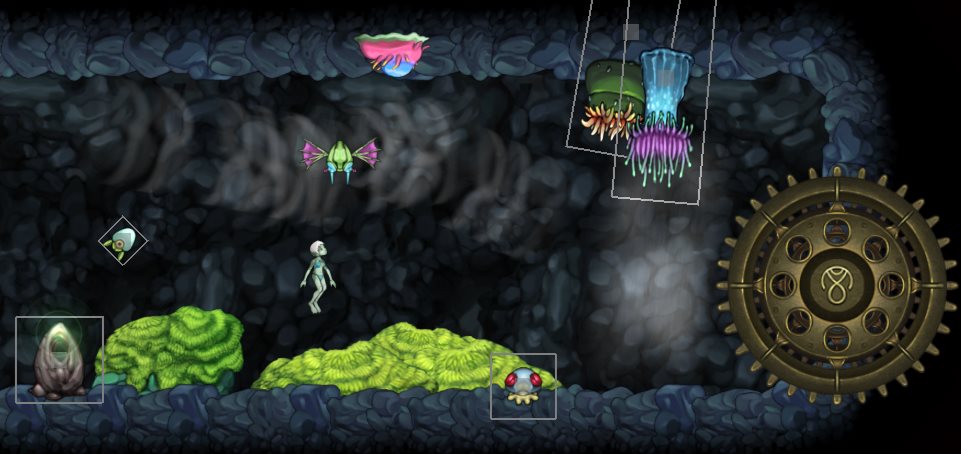
There is no multi-selection in entity edit mode. Also not all entities have a selection rectangle. (It depends on whether an entity is simply a tile graphic or has a skeletal model. If there's a skeleton, the tile graphic is invisible, and so is the border.)
About entity placement: Most entities you can spawn move around in some way. This means that once you save the map, some entities might not be anymore where you placed them. Fear Not! Entities retain their initial placement point; that's what's saved in the map.
The initial placement point gets updated when you grab an entity and move it somewhere manually. If in doubt, reload the map and immediately afterwards enter the editor, then all entities are probably close to where they are originally placed.
Key bindings:
- Drag while holding LMB: Move currently hovered entity around
- Ctrl + E: Open entity selection screen. For some reason this does not work when the cursor is hovering over an entity.
- Click an entity to select
- Alternatively, press Space while hovering an entity. This will select it and close the selection screen.
- Press E/R to cycle through entity groups
- Press Esc to close
- [Windows only] Double click left: There used to be a function to open the entity script file in the associated text editor, but it's broken for mods.
- Space: Place entity
- Backspace/Delete: Delete entity
- If you're using a pre-OSE version and the entity is not from the vanilla game, this will crash.
- Ctrl temporarily rotates an entity to 45° increments but it doesn't seem to be permanent.
Node edit mode (F7)
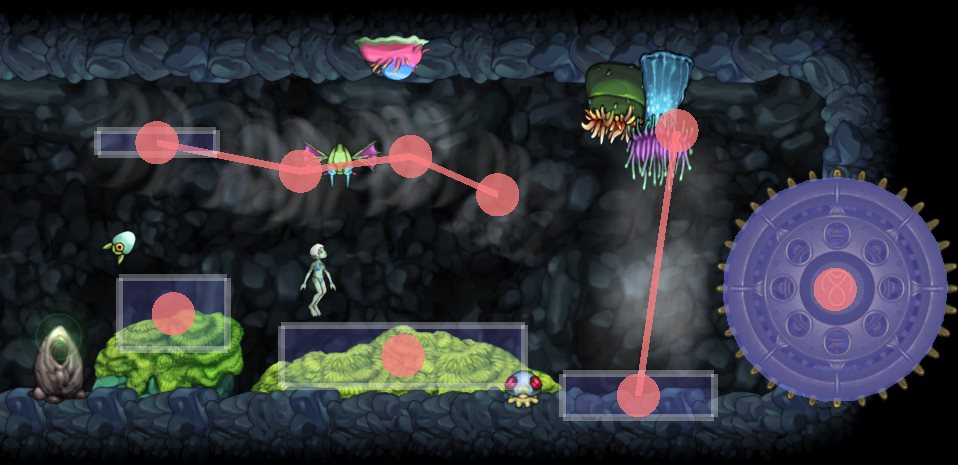
Nodes are displayed as a semi-transparent overlay. Positions that comprise a node are displayed as salmon-colored, connected circles.
The area of a node is semi-transparent purple and can be either circular or rectangular. If circular, the X (horizontal) axis of the node defines its diameter (the Y axis is not used then).
There is no multi-selection in node edit mode.
Key bindings:
- Drag while holding LMB: Move currently hovered node around
- Drag while holding Shift + RMB: Change node area size
- Left/right: X axis / diameter
- Up/down: Y axis
- Space: Append a position to the currently hovered node
- Ctrl + Space: Create a new node
- Shift + Space / Shift + LMB: Clone currently hovered node
- N: Change node label
- Y: Toggle between circular and rectangular area.
- T: Reverse the path (positions)
- Backspace/Delete: Delete currently hovered position. If this is the only position left, delete the node.
Reloading a map
On map (re)load via the editor, the OSE version additionally reloads the following:
So in any case, if you changed some data or the editor spazzed out, in most cases you can just save & reload the map and carry on.
Previous versions need to reload data manually via the Debug menu, but this will not reload everything of the above list.
Particle data can also be reloaded in the Particle viewer.


